DO NOT REMOVE THE PLAYER OR DISCONNECT ANY OF THE CABLES FROM THE UNIT IN THE CASE. Player can be used by opening the case's front and rear flaps.
Setup and Powering On
- Unzip the rear flap.
- Remove the power cable from the case, but do not attempt to disconnect it from the rear of the unit.
- Remove the HDMI cable from the case, but do not attempt to disconnect it from the rear of the unit.
- Connect the power cable to a nearby power receptacle.
- Connect the HDMI cable to the HDMI input of the video system being used (i.e. Ballroom 1; Hideaway or Multi A or B (see below)).
- Check cables: Ensure that the power and HDMI cables are connected before powering on the unit. They must be connected before starting up the CineLink.
- Unzip the front flap.
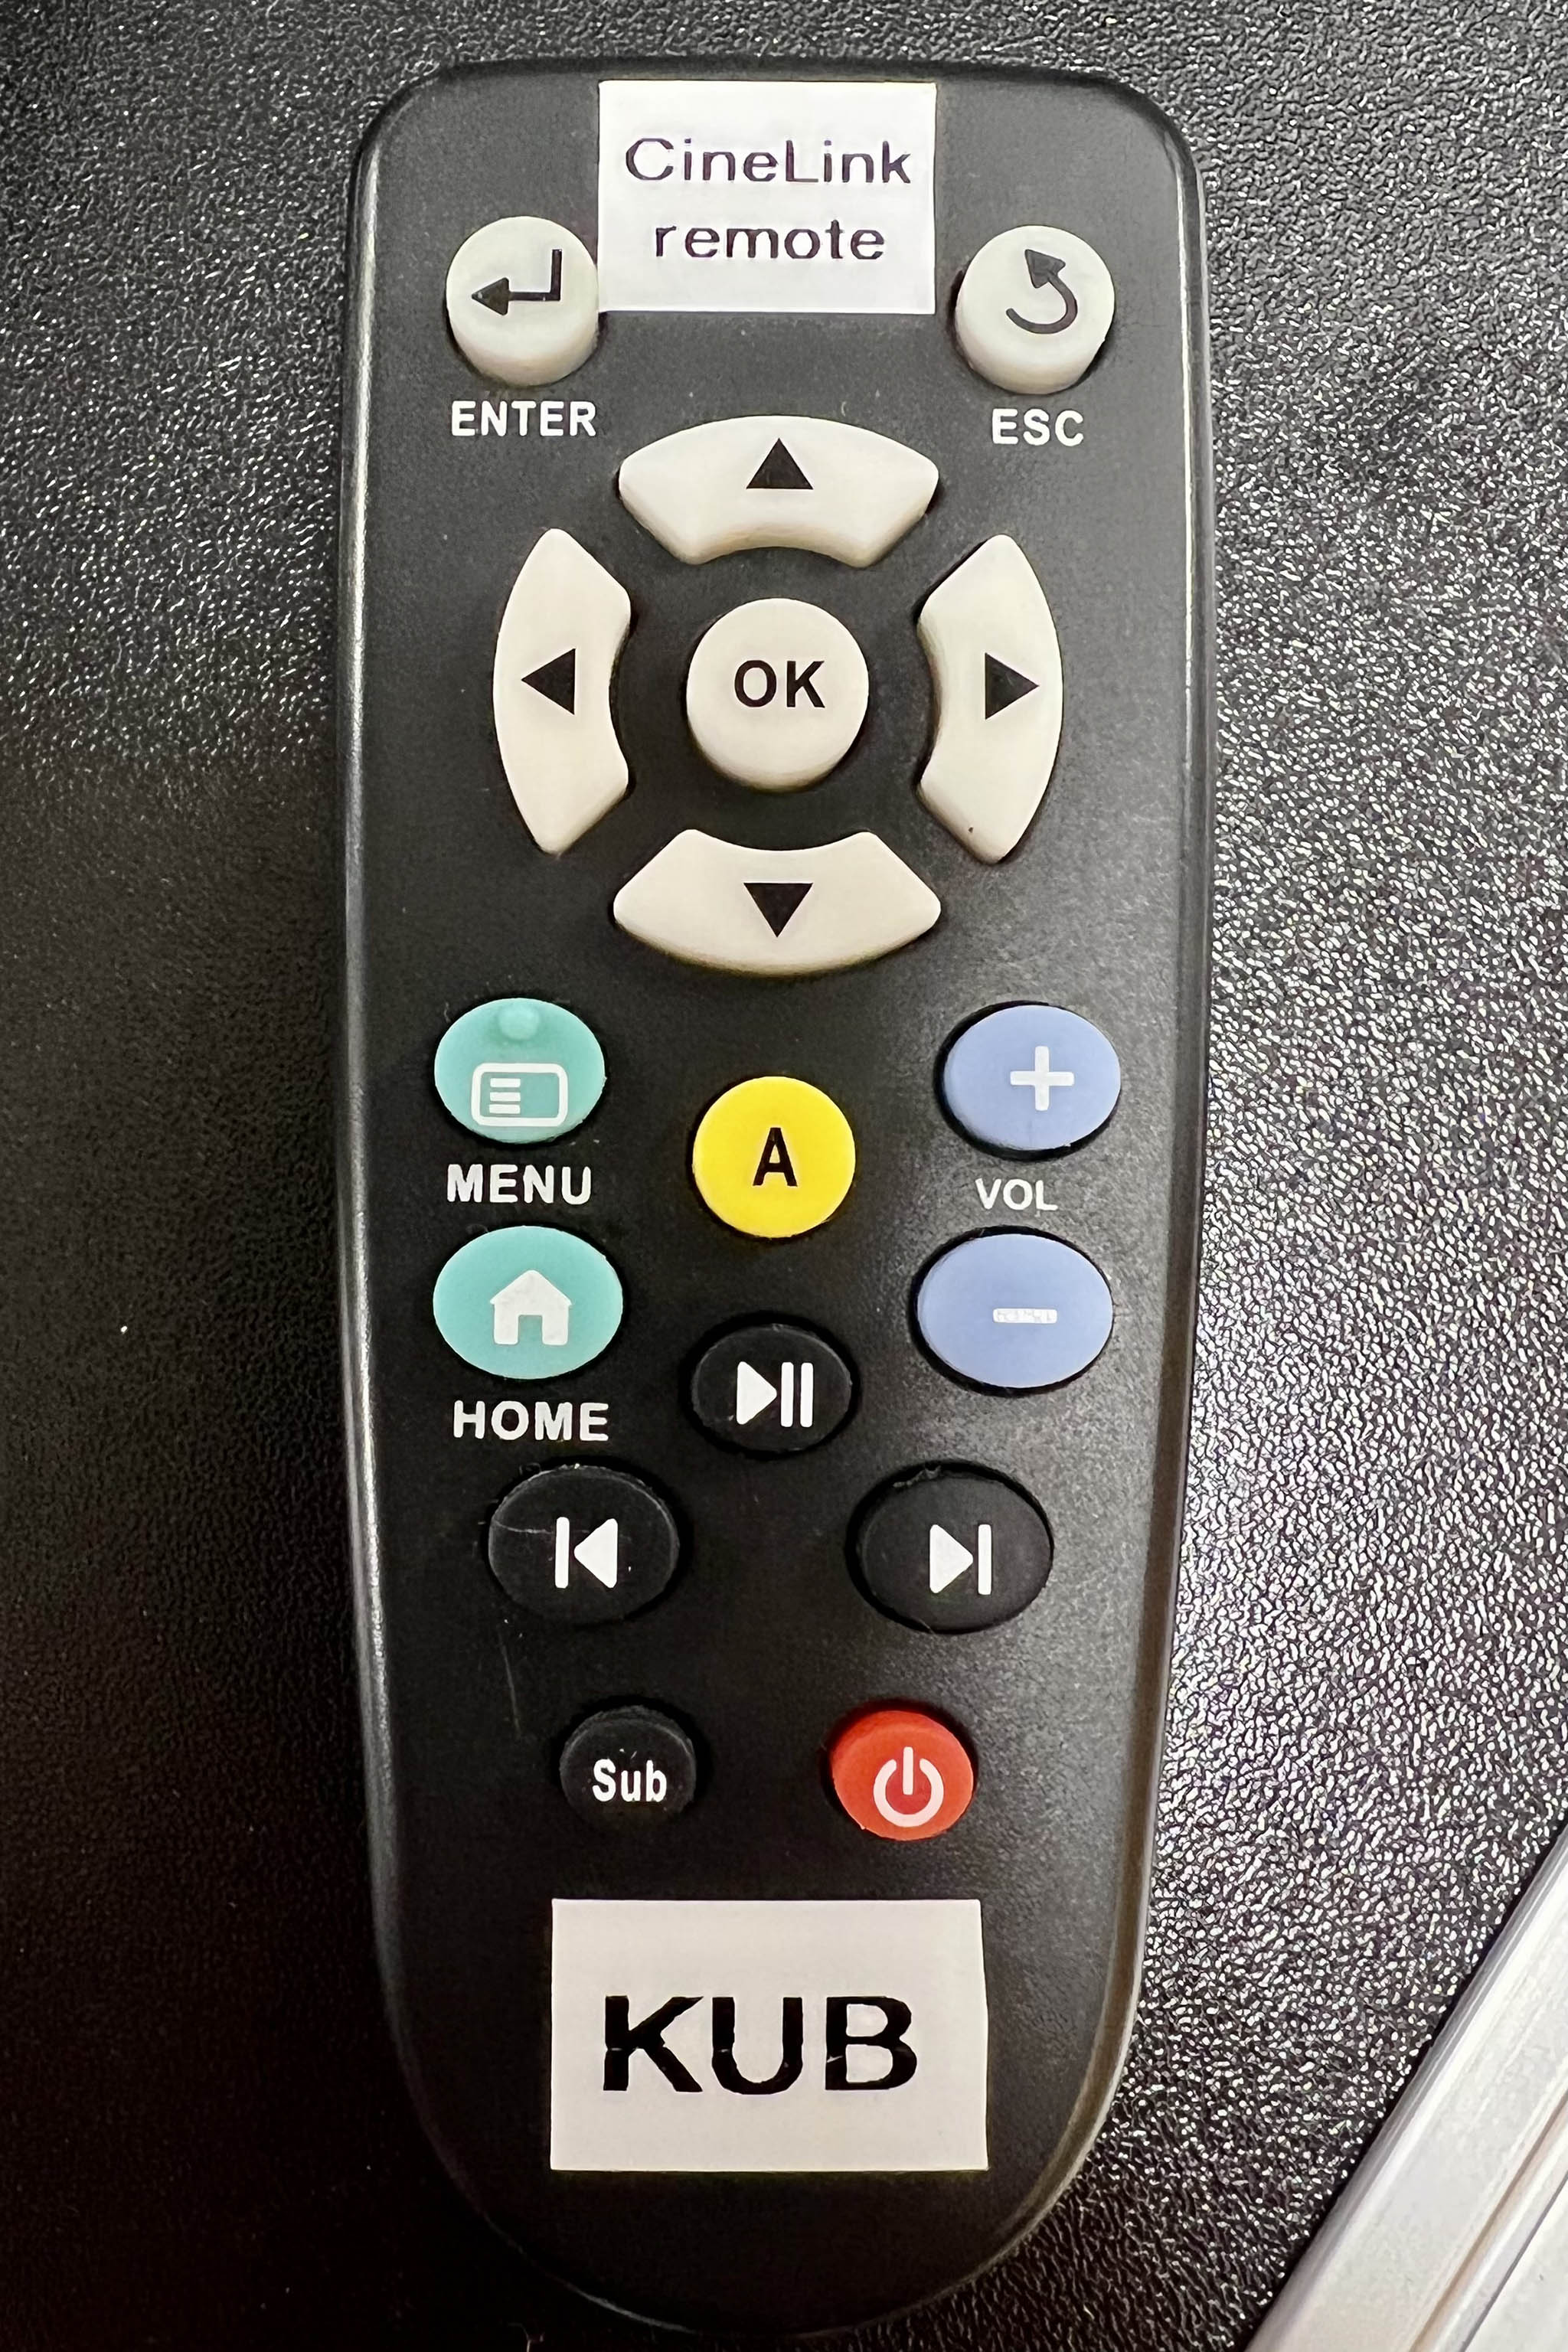
- Remove the remote control (see Figure 1.) from the zippered pocket labeled Remote.
- Power on the unit. Press the power button on the left of the unit.
- NOTE: If the unit is powered on prior to connecting the HDMI cable, the unit will not recognize the display system and the unit will have to be restarted.):
- The remote should always be stored in the zippered pocket of the front flap.
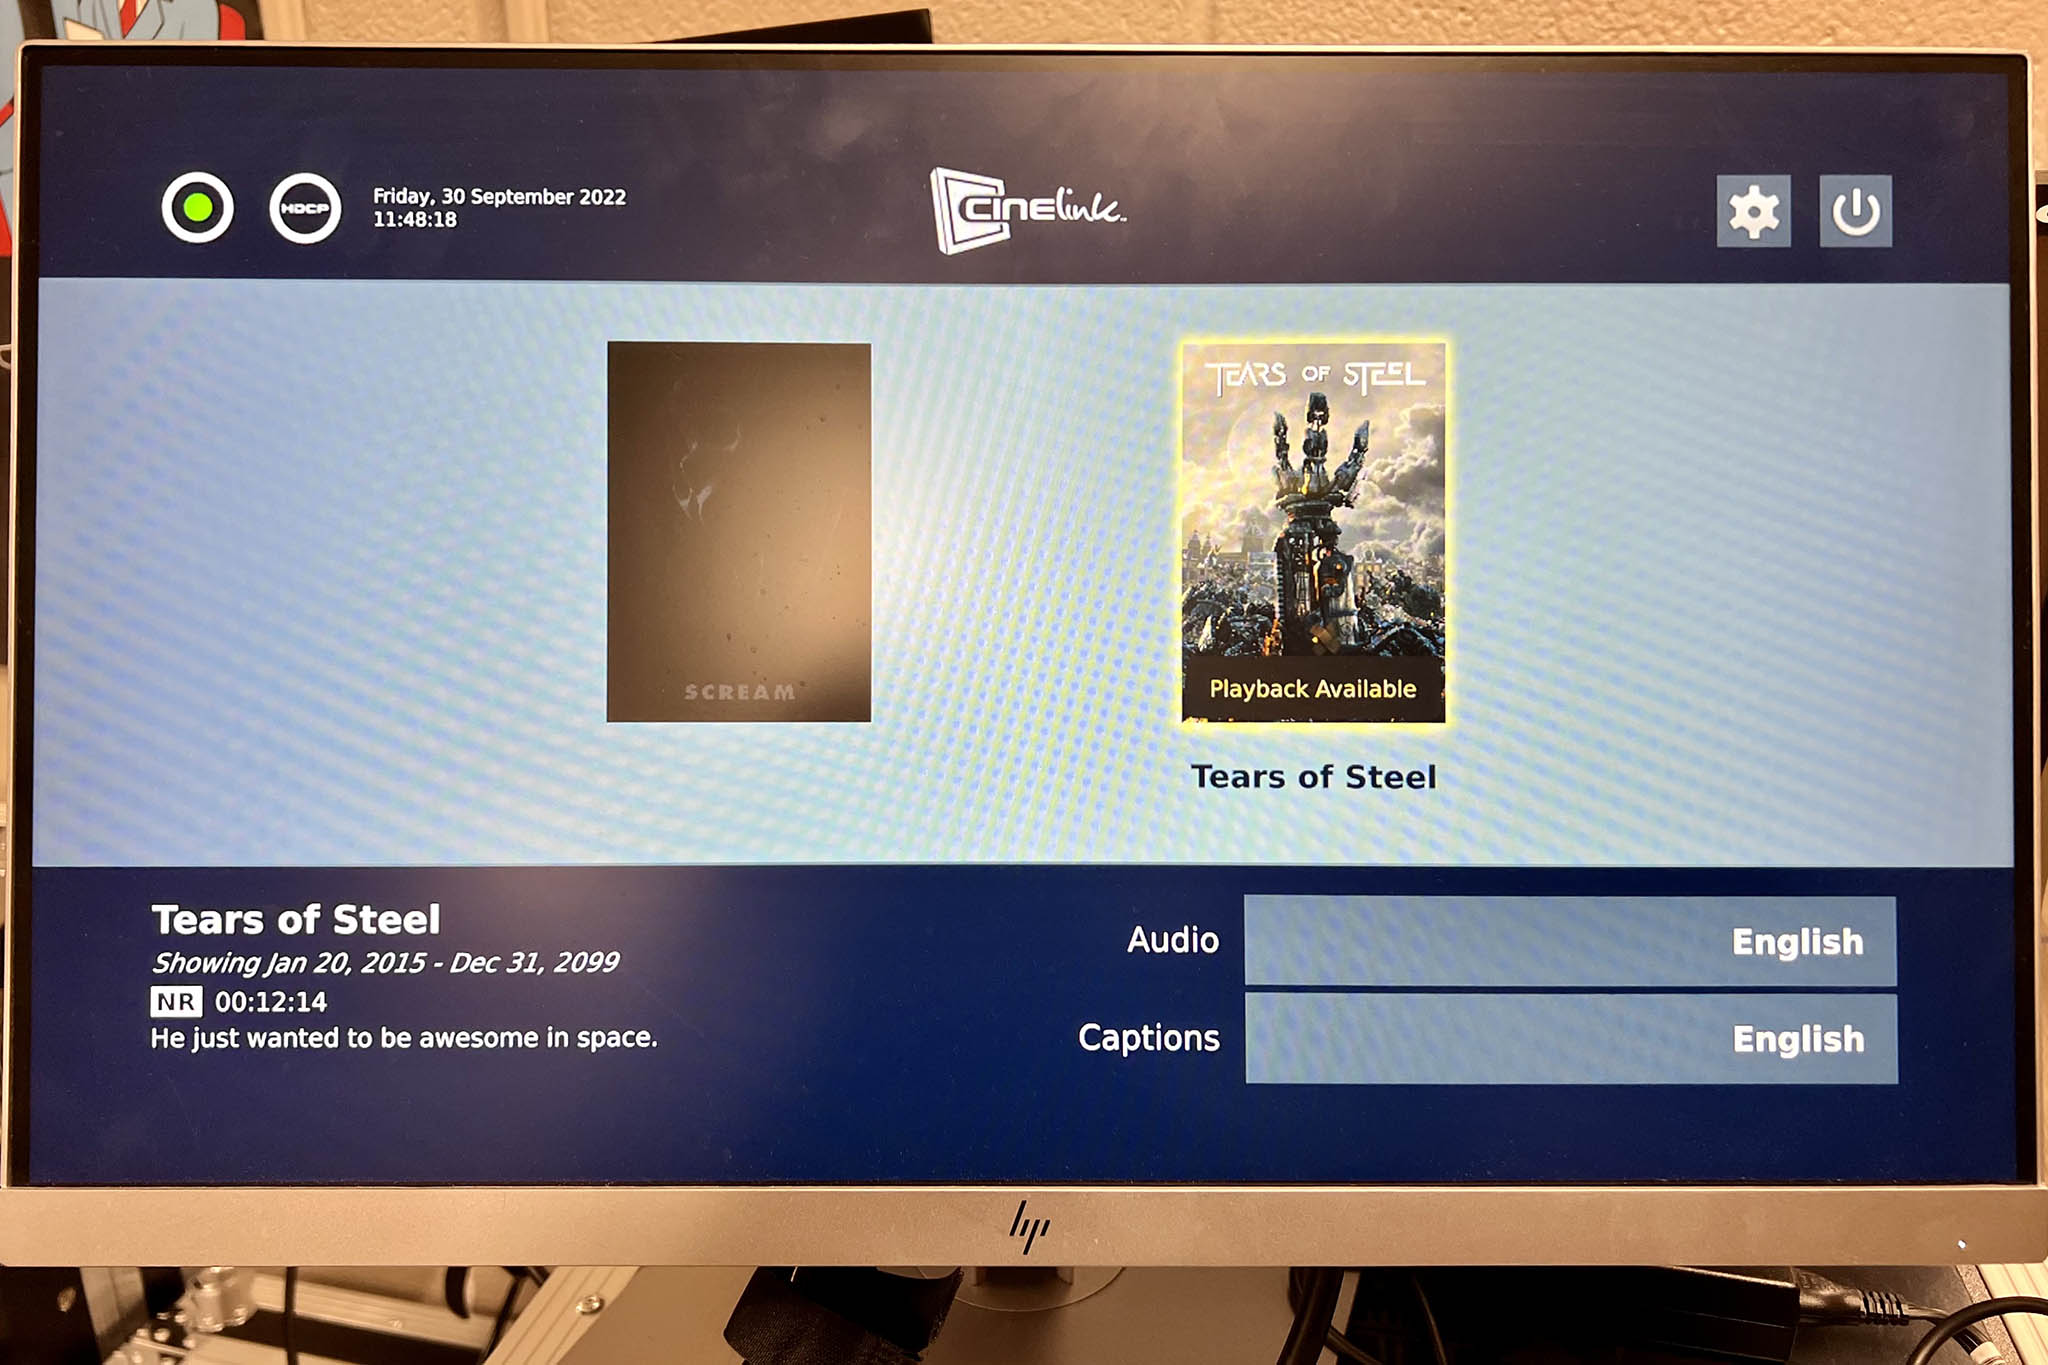
- Wait for the unit to run its self-check. The CineLink has completed it's self-check when it shows the main screen in Figure 2.
- Operate using remote control.
Multipurpose 345 A or B, or Hideaway HDMI Cable to Display Connection
To use the CineLink with the Multi A and B and Hideaway IMP stations, connect the CineLink to the auxiliary HDMI cable from the cable cubby on top of the lectern. DO NOT (attempt to) detach and/or disconnect the HDMI cable from the rear of the CineLink.
A female-to-female HDMI adapter (Figure 3) is needed to connect the male HDMI connection of the CineLink to the male connection of the IMP station lectern.
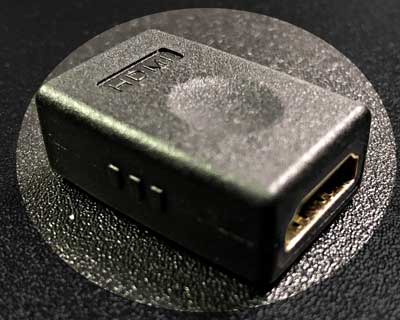
Connect an HDMI adapter (Figure 1, a.k.a. turnaround) to the end of the CineLink's HDMI cable, then connect the IMP station auxiliary HDMI cable to the other end of the HDMI adapter (Figure 4).
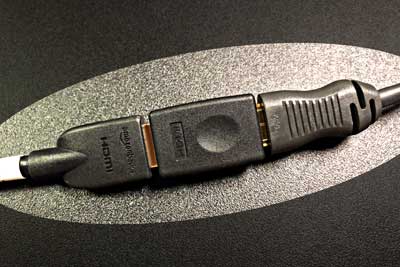
An HDMI adapter should always be stored in one of the CineLink case storage pockets - preferably the large pocket so that it doesn't fall out when accessing the CineLink remote control.
Activating Closed Captions
To activate closed captioning upon request:
- Using the remote, highlight the movie for which captions have been requested.
- Using the down direction button on the remote, navigate to Captions at the bottom right of the main screen.
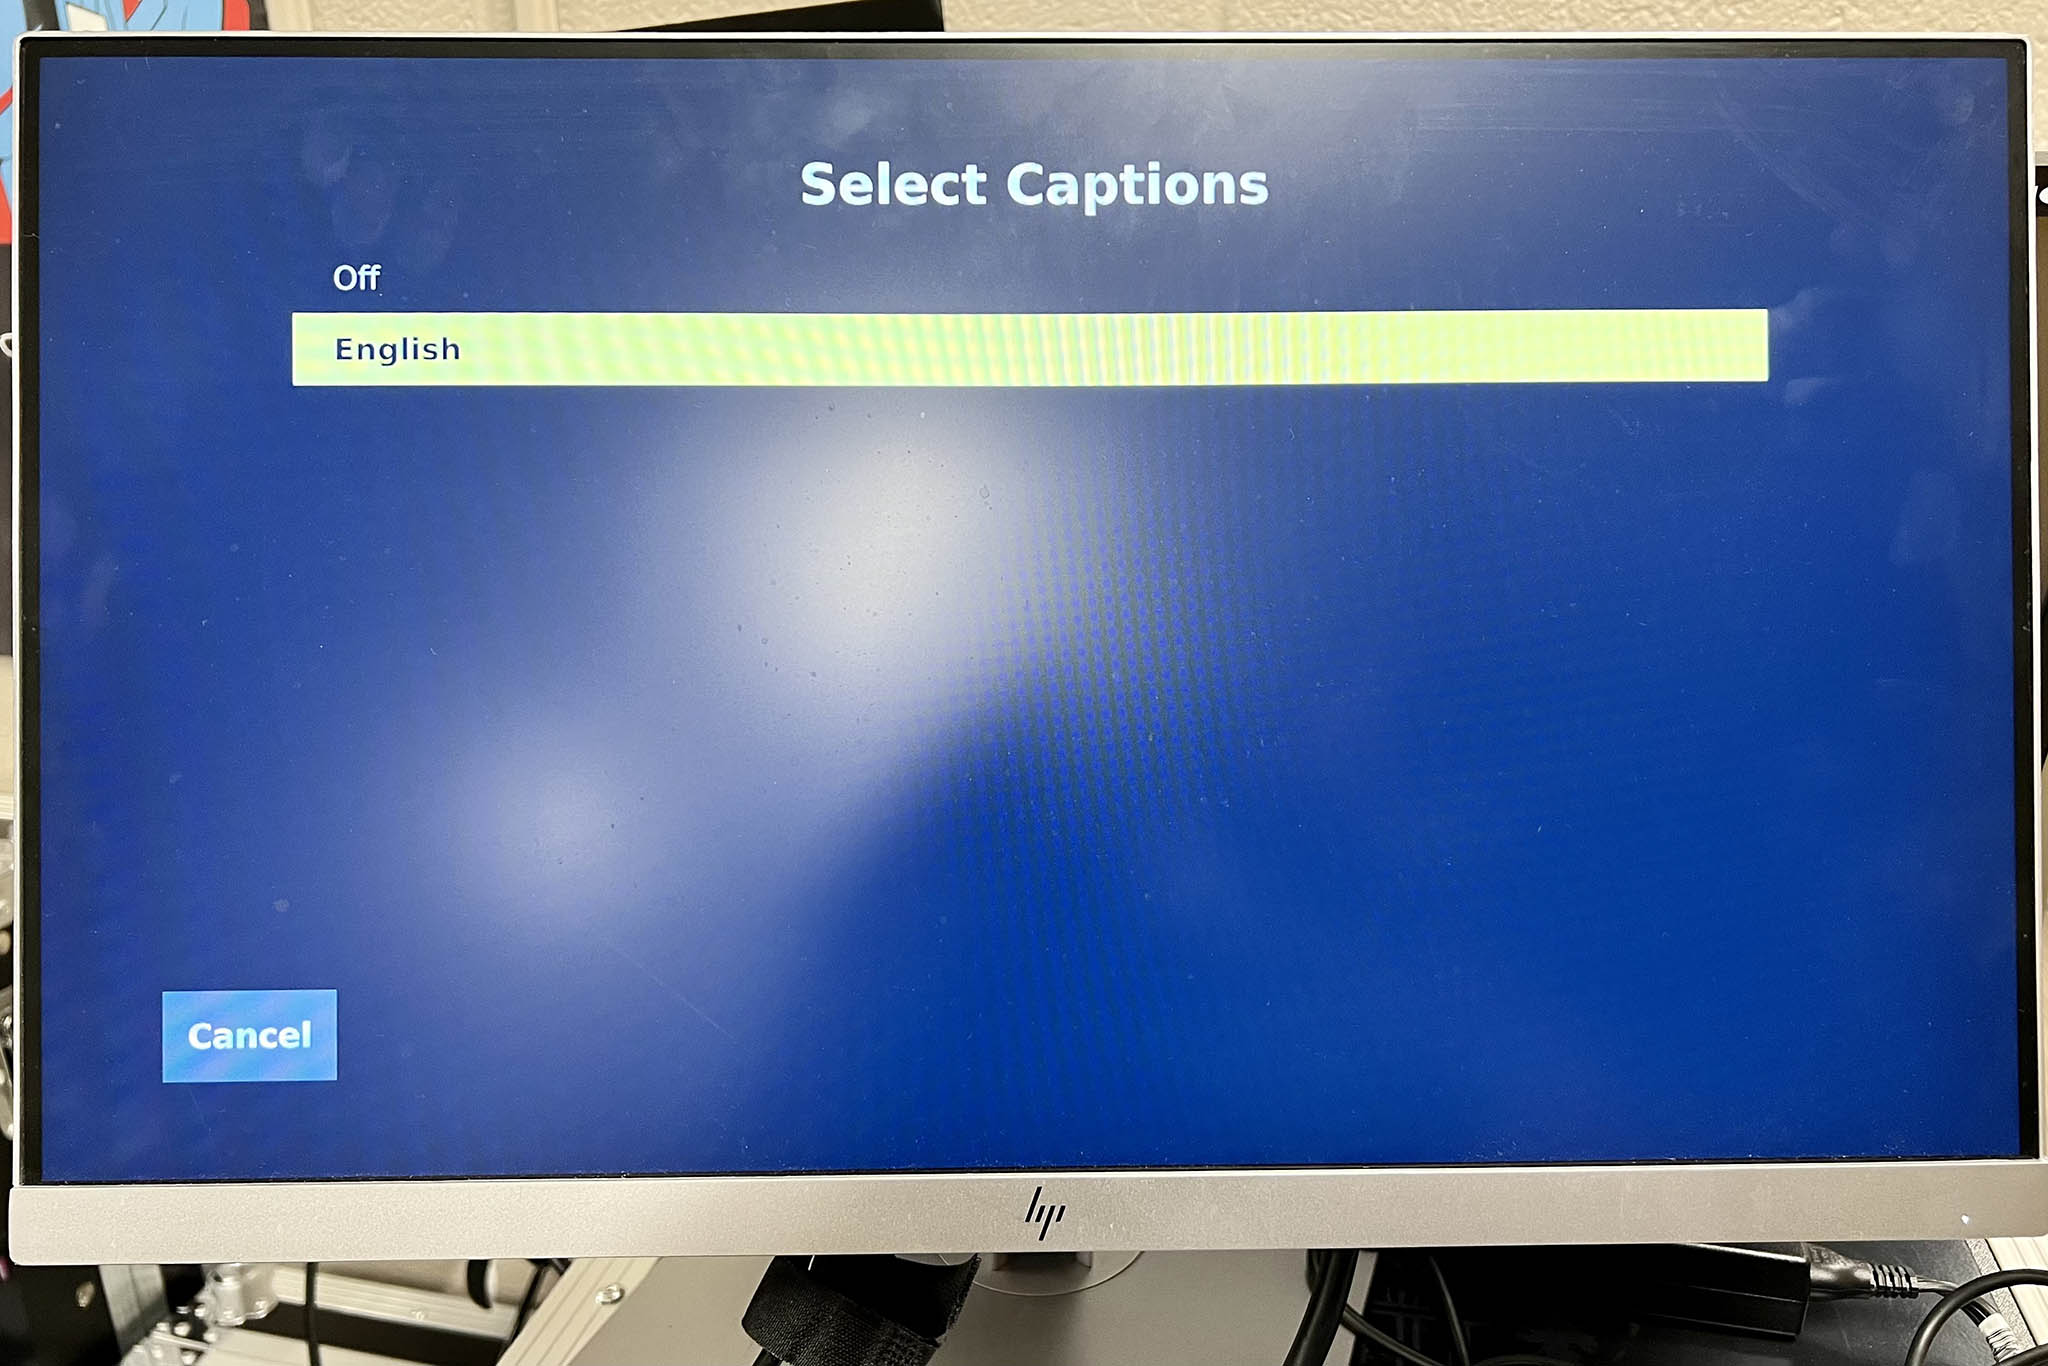
- Select and activate the Captions button. The screen moves to the Select Captions screen.
- Select English from the Select Captions screen and press OK on the remote. The screen moves back to the main screen.

Power Off and Storage
- Power off the unit using remote's power button or from the menu option. IMPORTANT! Do not just unplug it from power.
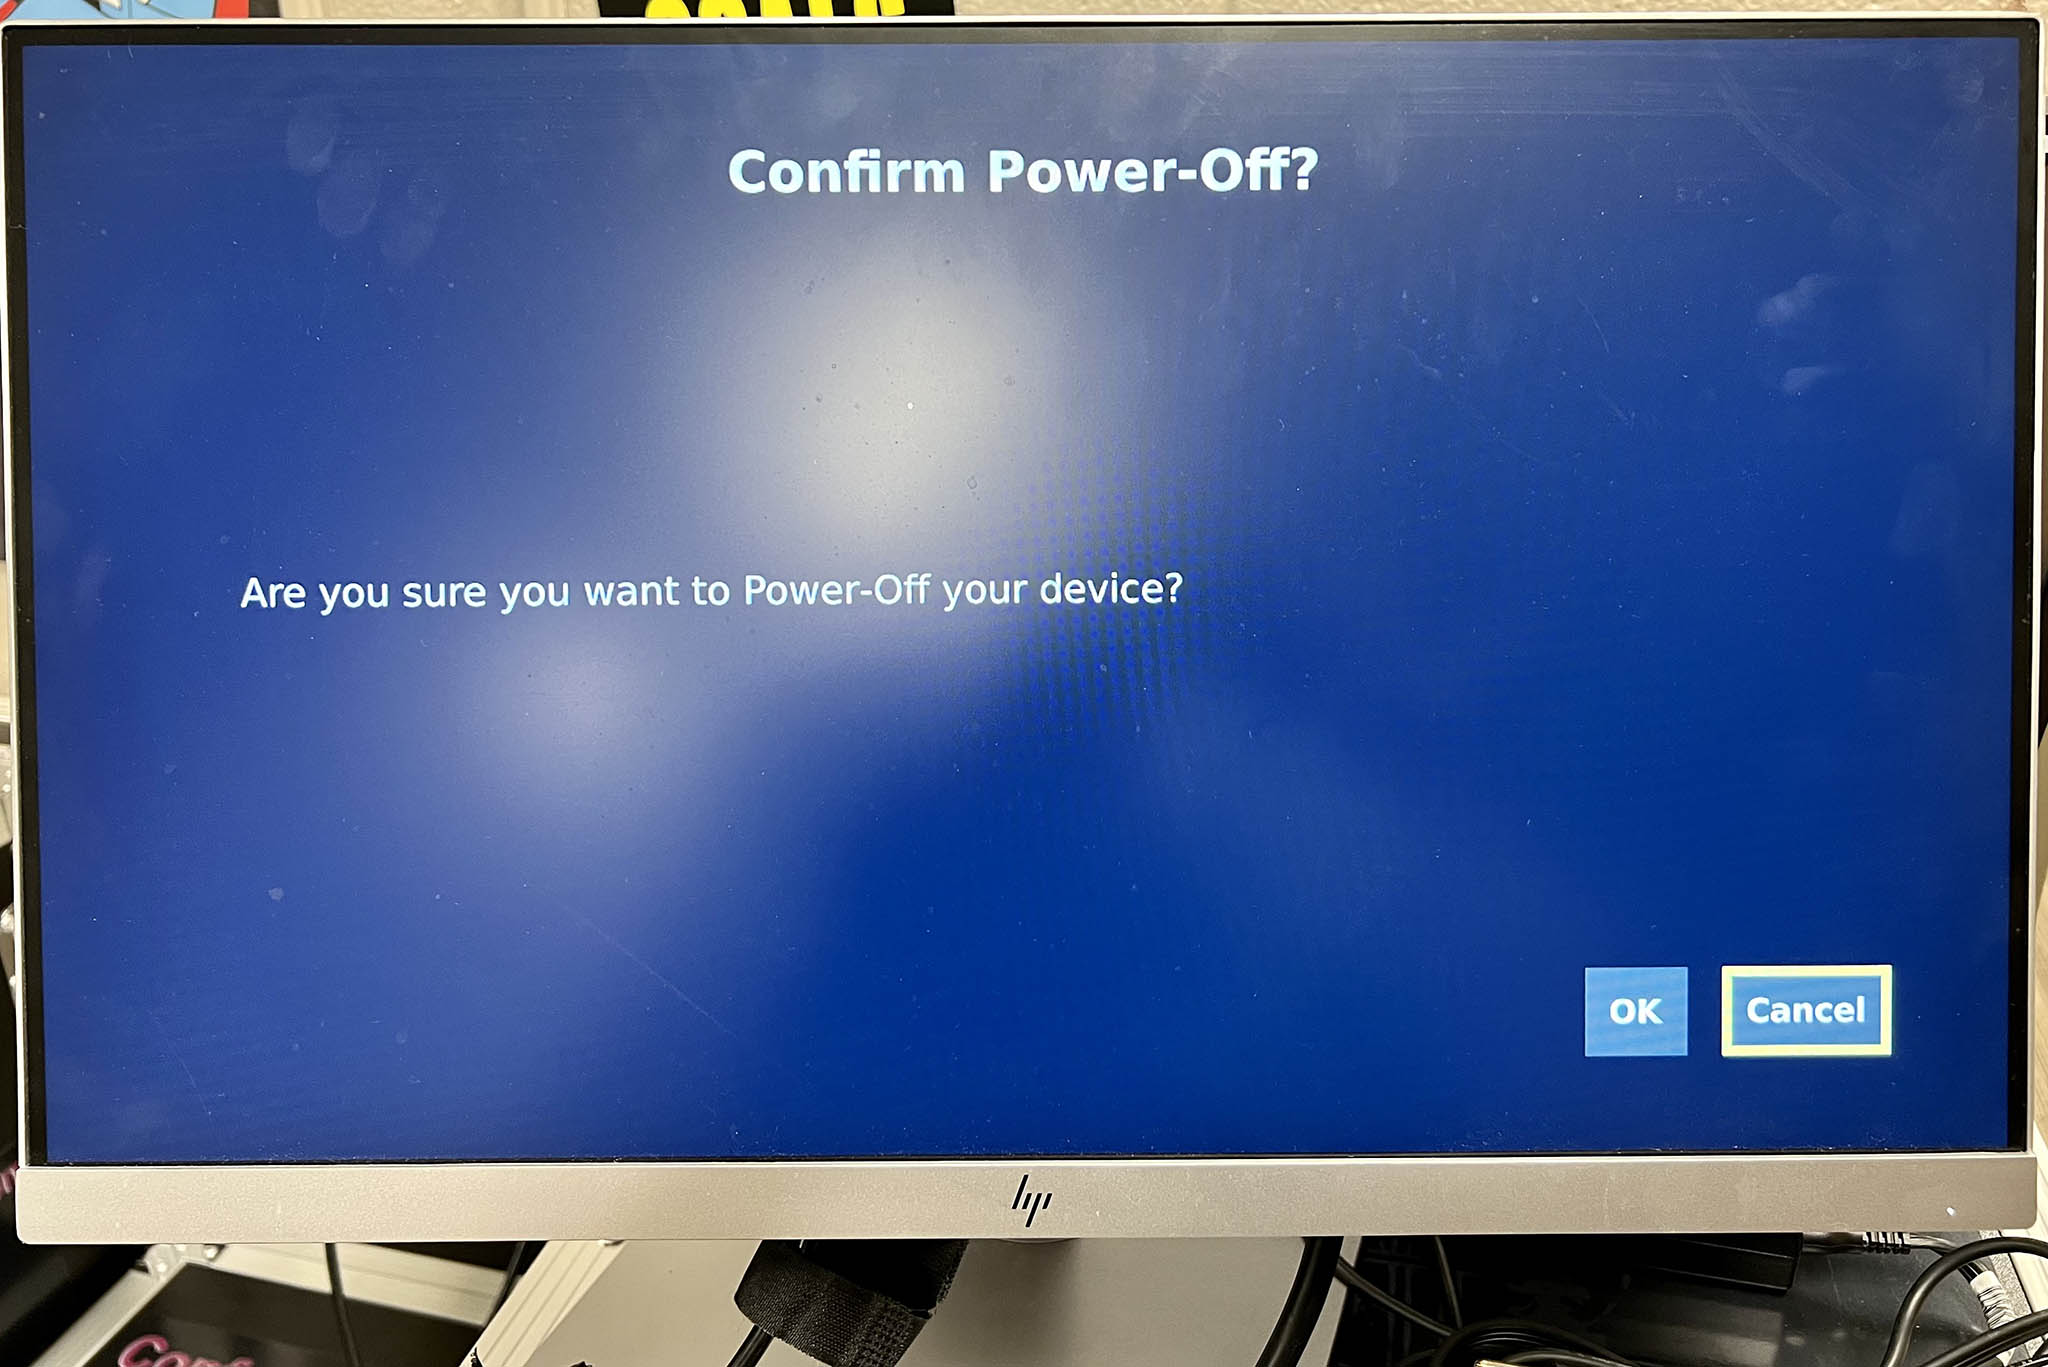
- On the remote, press red power button once - The Confirm Power-Off? screen appears (Figure 7).
- Select OK on the screen. On the remote, press the left arrow button, and then press the OK button in the middle of the direction arrows.
- Return remote to front zippered pocket labeled Remote.
- Wait until the CineLink fully powers down.
- Zip the front flap closed.
- Unplug HDMI cable from video/display system.
- Unplug power cable from receptacle.
- DO NOT (ATTEMPT TO) DISCONNECT CABLES FROM REAR OF THE UNIT. Neatly store cables within rear of the case.
- Zip the rear flap closed.
Troubleshooting
The CineLink is not responding to the remote.
- Make sure that you are pointing the remote at the CineLink.
- Check / replace the batteries.
- Make sure that the USB dongle for the remote is fully inserted into the USB port at the front of the CineLink.
The CineLink image is not showing on the projector or the display device.
- The CineLink's HDMI cable may not be fully connected to the display.
- The CineLink may have been powered on too soon for the room AV system (i.e. Ballroom) to recognize it's video signal.
- Power off the CineLink. Power off the room AV system. Re-power and configure the room AV system. Wait for the system to completely power on and settle down. Power on the CineLink.
- Power off the CineLink. Connect the HDMI cable to a different room input. Change the AV system input to the CineLink input. Power on the CineLlink.